Damp-proofing is an easy way to keep your shed and tools in good condition.
Damp can be caused by external factors such as rain and internal factors such as condensation, this step-by-step guide will help protect against all issues.
By the end of this guide, you’ll have everything you need to know when damp proofing your shed.
1. Check The Sheds Condition
Before doing anything else, give the shed a good once over.
It’s probably been a while since you’ve done this so check the roof, the windows, door and walls so you know which areas need the most attention.
This will also let you get everything you need to make the relevant repairs.
2. Clean And Clear The Shed
After checking the condition of your shed, you need to take out all of the items that are being stored inside.
This is just while you damp proof it and it gives a good opportunity for all of your tools and items to air.
Check them for damp and mould as you remove them.
If you have time, leave the door and windows open so your shed can air out for a few hours before you start work in there.
This will give the air in the shed a chance to circulate, which will be needed if there is damp or if it hasn’t been opened in a while.
3. Identify & Resolve Existing Damp
To damp proof the shed you first need to sort out any existing problems. This is a very important step that should not be overlooked.
The existing damp can give you an indication as to where the problemed areas are as damp can be caused by leaks, condensation, pooling groundwater and rising damp.
If damp is already visible you will have a good idea of where the moisture is coming from and the type of damp you are dealing with and protecting against.
It is quick and easy to treat the areas of mould and mildew.
You can buy simple spray cleaning products that are designed to tackle these issues.
You can also mix some white vinegar and water in a spray and use this if preferred.
4. Make Repairs Where Necessary
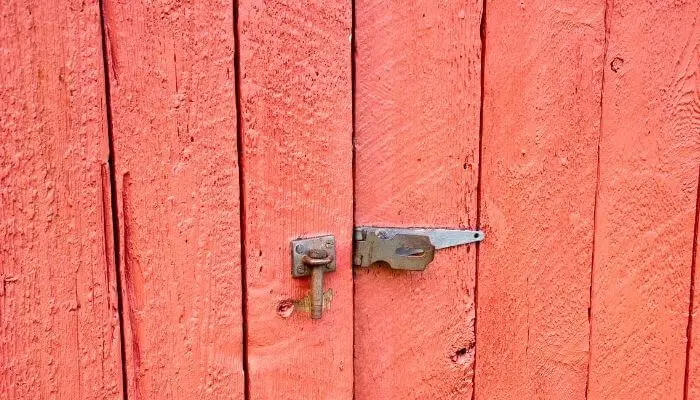
The doors and windows need to be sealed so they are weatherproof.
This may mean fixing them, filling in gaps with expanding foam or replacing them if they are in very bad condition.
The roof and walls should also be free from gaps so water cannot get in. Some roofing felts can degrade over time so if your shed roof is felted and shows signs of degradation then replace it.
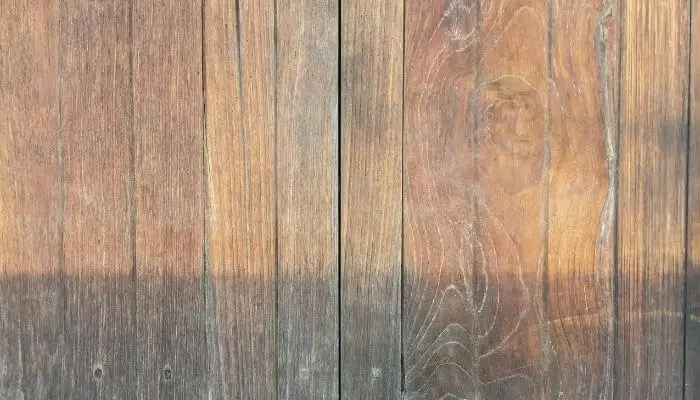
If the walls are wooden they should be treated with wood treatment and stain annually to protect them against moisture and rot.
Once the shed is fully sealed and old damp has been dealt with you can begin to damp-proof the floor and insulate the shed.
Maintenance Tips:
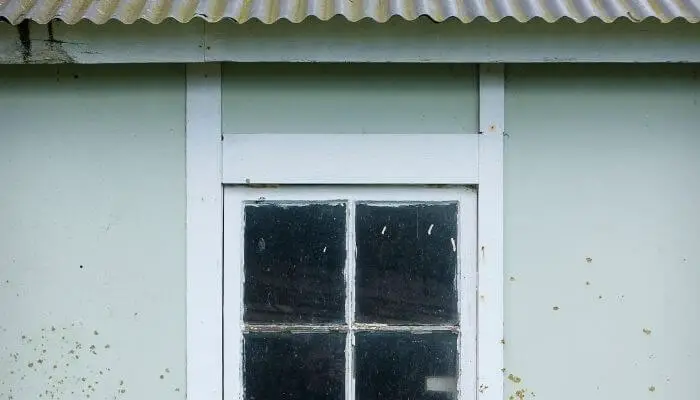
- If your shed has single glazed windows you may want to switch them to double glazed as single glazed add to interior condensation.
- If there is not already guttering, install some so runoff has somewhere to go and won’t leak into the shed. A water collection butt is also a good idea as this stops the water from pooling at the base of the shed.
5. Damp-proof the floor
Don’t forget to deal with the floor when you are damp proofing.
This can be done by installing a damp-proof membrane or by fitting a second floor with insulation between the layers.
A second-floor helps to raise it above ground level but it will reduce the standing space in the shed so if the shed is already a bit tight for space this probably isn’t the best option.
6. Install Insulation
Insulation will help keep the temperature inside the shed more stable, this prevents temperature drops that result in condensation on cool surfaces like windows and tools.
Common shed insulators include batting or blanket insulation and polystyrene sheet insulation. Wool is also popular for areas where extreme high temperatures may be experienced.
Fitting the insulation should be quick and easy. It can be attached to the wall studs with staples and then a layer of dry wall can be installed over the top.
Insulation is a good idea but it isn’t essential. Not all wooden sheds need to be insulated so decide for yourself if this step is necessary for your shed. Insulation helps to regulate the temperature so the warmth stays in and the cold stays out.
If you live in a cold climate and you have a heated shed, you may also want to install a vapour membrane.
This is plastic sheeting that you can install inside your shed’s framing to prevent moisture from getting onto your frame and insulation.
7. Install Vents To Keep Air Moving
If the shed goes unused for long periods, you may want to consider installing vents. Air circulation is important for stopping moisture build-up.
If your shed is in frequent use the regular opening of windows and doors might be enough to keep it ventilated.
Generally, 2 static vents that are installed at opposite walls of the shed will provide adequate airflow to prevent damp.
If you have a large shed then you may want to consider installing a powered vent to ensure there is enough air circulation for the size of the space.
Circulating the airflow is a simple way to prevent damp as it helps to ensure moisture-rich air gets moved out quickly.
8. Final Touches
For a shed to be damp-proof it needs to be sealed, insulated and ventilated.
However, depending on the use of the shed, the weather and the level of humidity experienced you may find a couple of extra touches go a long way in keeping your shed free from damp.
- Get a dehumidifier – if the shed tends to be quite humid a dehumidifier will help remove excess moisture from the air.
- Install heating – A heater will help to keep the temperature stable.
- Keep your items well organized – now you have made your shed damp proof you can put your items back in. However, cluttered sheds will not only encourage deterioration of your tools but will also encourage damp. Therefore, it is a great idea to use quality storage boxes and silicon gel sachets will help to keep your items dry. Try not to put wet items in the shed either as this will increase the moisture levels you’ve worked hard to get control over.
Summary
Damp proofing a shed involves a few key steps that help to decrease moisture, increase air circulation and stabilise the temperature.
Once you have carried out each of the steps in this guide all that is needed is some basic regular maintenance to keep your shed in good condition.
Here’s a quick recap on how to keep damp out of your shed:
- Fix any tears or gaps in the roof
- Seal all gaps in the shed’s frame
- Change single glazed windows for double glazed
- Treat wood annually
- Clean any existing mildew and mold with cleaning spray
- Install insulation
- Allow airflow by opening windows and doors or installing a couple of vents
- Consider installing heating and a dehumidifier
- Organize your items properly to prevent moisture build-up
The important factors that ensure a shed remains damp proof are; ventilation, heating, insulation and regular maintenance.
That is why damp proofing a shed is a multi-step process.
Each step tackles a problem area and it all comes together to make sure there is no water getting in from outside and no condensation building up inside.
Remember this and your shed will be free from damp for a long time.
