If you’re a budding artist ensuring that your creations last for years to come is a good idea.
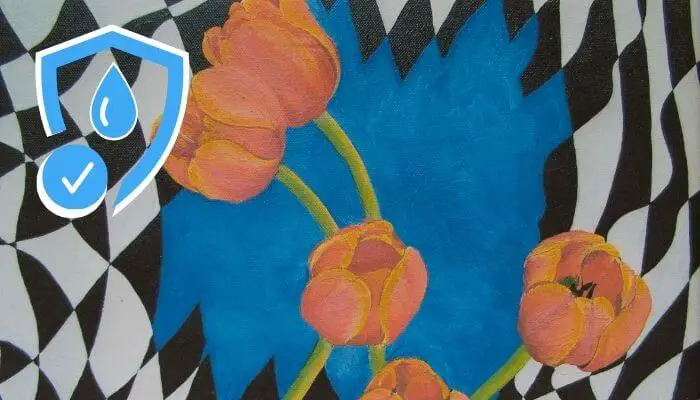
Unfortunately, acrylic paint is not waterproof however it is easy to protect your work from accidental spills or rain by applying sealants.
Professional varnishes are highly recommended because of their long-lasting protection, but they’re not the only option.
We’ll also explain how to seal your acrylic paintings with the alternatives of nail polish, waterproof glue, and PVA.
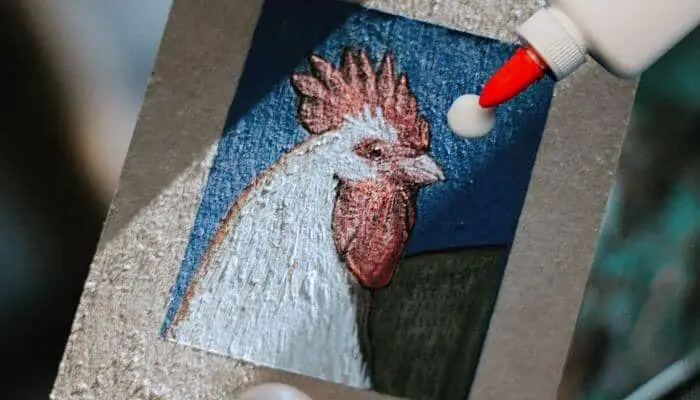
1. Seal It With Varnish
Varnishing has been used to protect ancient wall paintings since the days of antiquity. It’s an effective method that stood the test of time.

Originally, they were used to remove them after gaining a yellow tint and gathering dust without damaging the painting.
There are many permanent varnishes in the market.
If you believe your painting will stay over a decade, go for a removable varnish.
You’ll need to apply an isolation coat first.
Moreover, varnishing adds richness to the colors with its semi-reflective sheen.
Choose a gloss or satin varnish to get a fancier look, especially for darker colors.
Matte varnishes are available if you don’t like the sheen.
The varnishing steps are easy, but they should be done with care.
The number of applied coats varies depending on the painted surface material.
- If you’re using a new varnish, read the instructions on the container.
- Test out on another surface to make sure you like it.
- For a canvas, apply a primer before painting.
- Lay down on a flat surface and ensure the dryness of the painted surface.
- Use a wide-base brush to evenly apply the first coat. Goin a single direction.
- Wait until the first coat dries.
- Going in the opposite direction, apply a second coat, and wait for it to dry.
2. Seal It With Nail Polish
If you can’t apply varnish for some reason, you can use clear nail polish to seal the acrylic paint.
Note, however, that nail polishes aren’t manufactured for that specific purpose, so they’re not as effective as professional sealants.
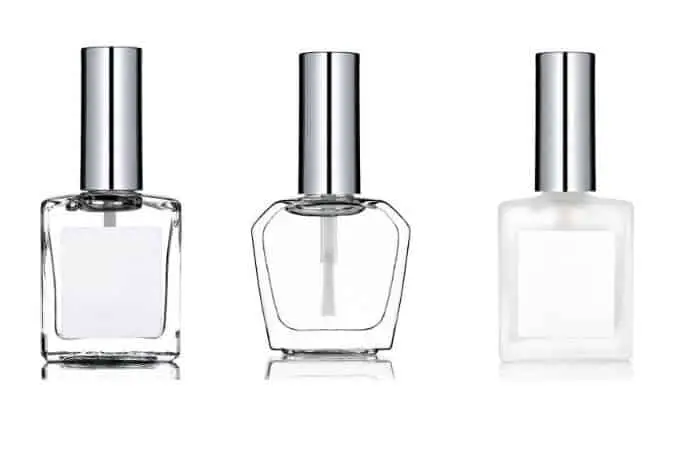
Nail polish will yellow and wear away much faster than the varnish.
They’re not easily removed without damaging the paint. Nail polish has to be removed with acetone or abrasive removers.
Although a single nail polish bottle might be cheaper than a varnish, sealing with nail polish can become more expensive for large surfaces.
Additionally, nail polish might not protect against all harmful conditions like UV rays and direct sunlight. It might also unexpectedly react with the acrylic paint, so you might not want to risk a valuable piece of artwork.
Keep in mind the health concern of inhaling nail polish fumes while applying it to your painting. The process takes time, and you need to do it with patience.
Below are the steps for smooth sealing with nail polish:
- Try the nail polish on a test painting to view the result.
- Calculate and purchase the needed nail polish amount to apply all at once.
- Let the painted surface completely dry.
- Wear a mask for protection against fumes.
- Use a wide-base brush to apply a thin layer of nail polish in a single direction. Make sure it’s even on the whole surface.
- Wait for the first coat to the dray, and then apply the second coat in the opposite direction.
- Repeat the process for a third coat if necessary.
3. Seal It With Waterproof Glue
Using glue to seal makes sense because it dries into a hard irremovable layer.
However, you can’t expect to remove it later and re-apply a varnish.
Not all glues work as sealants against moisture.
Much depends on the composition of the glue and its color after drying.
Gorilla Glue is designed as a strong adhesive, but it also works as an effective sealant in kitchens and bathrooms.
It has a brownish color that leaves a clear yellowish tint after drying.
After the glue dries, you can paint over it to add final touches if needed.
Gorilla Glue forms a textured coat after drying, unlike the smooth finish of the varnish.
This can be irritating for some artists, but others consider it a piece of their art.
Another waterproof glue that’s used by many artists is Mod Podge.
It was originally designed for crafting purposes, but it effectively seals moisture.
You can use it on almost any surface.
Plastic surfaces require more coats of both paint and sealant.
The glue dries fast, so it has to be applied quickly to get an even layer of sealant. Use the following steps to apply glue as a sealant for artwork.
- Let your painting completely dry out before applying the glue.
- Quickly apply the glue in delicate layers.
- Let dry for at least 15 minutes.
- Use sandpaper or steel wool to smooth the surface.
- After drying, apply more coats as needed. Apply at least two layers.
4. Use PVA
Also known as white glue, wood glue, or Elmer’s glue (US), PVA glue is an affordable staple in home-based projects.
It’s completely safe to touch, and its fumes are non-toxic.
PVA is sticky, but it dries quickly in well-ventilated spaces, especially at room temperature.
You can make your own sealant for acrylic paintings by diluting PVA glue with water.
The water will make the solution runnier and easier to apply.
This sealant can also be used as a primer on all substrates like masonite, plywood, MDF, and canvas.
The PVA sealant is white when wet, but it will dry into a transparent coat.
The major problem with using PVA sealant is that it’s not completely waterproof.
PVA is water-soluble, so it will mess up your art if it gets wet. It’s only effective for protection against dust and scratches.
If you decide to use this sealant, you’ll have to keep the painting in a dry area, ideally protected by a transparent screen.
Also, while applying it, be cautious of wetting the dried acrylic paint. Use light strokes and apply one coat at a time.
Here’s how to protect your art pieces with a PVA sealant:
- Use a scale to weigh equal parts of PVA glue and water.
- Add water to the glue (and not glue to water) to ensure you don’t over dilute.
- Mix together by stirring in a container.
- Give it a shake to ensure it’s well-mixed and dispersed.
- Use a painter’s brush to apply an even coat to your painting.
- Let dry at room temperature.
- Add another coat if needed.
So Go & Waterproof Your Acrylic..
We’ve explained how to make acrylic paint waterproof in four different methods to broaden your options.
We highly recommend using professional varnishes to waterproof your acrylic because they’re manufactured for maximum protection.