Waterproofing sand is easy, and almost anyone can create one.
If you want to make waterproof sand, also known as hydrophobic sand, follow the instructions below:
Note: It’s best to work outdoors or in a well-ventilated area as the Scotchgard fumes can be pretty strong.
Materials
- Dry Sand
- Pan/Tray
- Aluminum Foil
- Scotch Guard
Instructions
1. Get a pan
Get a flat pan, such as a baking pan.
There’s no particular shape needed, but a rectangular pan works well.
You can also use a pizza pan or a deep dish pan if that’s the only one available. Just make sure it has a flat bottom.
2. Spray the pan with Scotchgard
If you plan on using the pan again, you might want to protect it from the sand.
So, spray it with a Scotchgard protector.
Otherwise, skip this step.
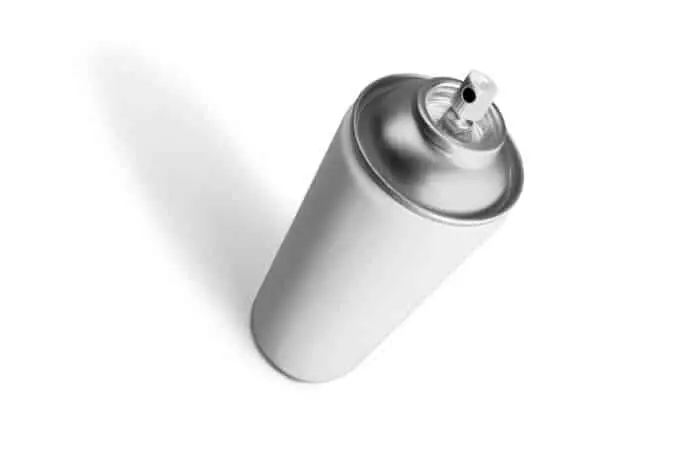
3. Grab the sand and Scotchgard protector
Next, you’ll need to grab your sand and Scotchgard protector.
To make this work better, use sand that has finer particles, such as hermit crab sand found in your local pet store.
Then, make sure that you’re using a Scotchgard protector and not the cleaner.
You can find one in any home improvement store.
Just always check the label before making a purchase.
4. Spread the sand on the pan
Then, spread the sand over the pan as thinly as you can.
The thinner the spread, the better, so make sure that you cover the entire surface of the pan.
If you need to waterproof more sand, don’t make thicker layers.
Instead, do it per batch.
The thinness of the layer dictates the success of the process, so be sure to follow it correctly.
5. Spray the sand with Scotchgard
Spray a thick coating of Scotchgard protector on the sand.
The main goal here is to ensure that it will penetrate in all of the grains of the stand.
However, don’t spray it excessively, or it may result in liquid pooling.
Ensure that the sand absorbs all the protectors.
6. Allow the Scotchgard to dry
After spraying, wait for about 15 minutes or more to let the Scotchguard spray dry completely.
Once it has dried up, mix the sand using your fingers.
Check if any grains didn’t get coated. If there is, spray them and let them dry.
7. Check if all the grains have been coated properly
Once you’re sure that everything is coated and dried up properly, spread it flat again.
Repeat steps 5 and 6 at least 5 to 7 times to ensure they’re all coated.
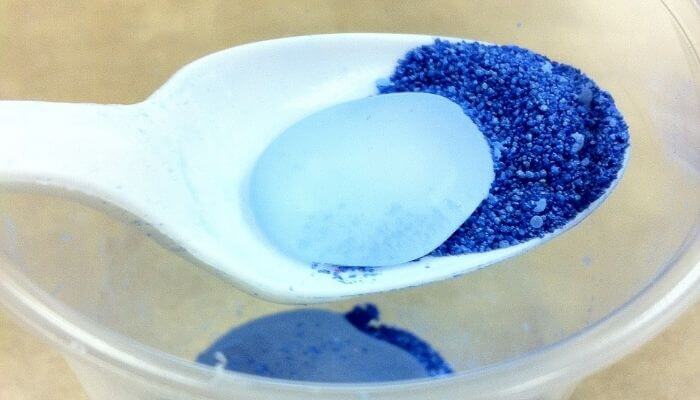
8. Test the sand
Test out your waterproof sand to see if it needs more coating.
To do this, spoon some of it and drizzle some water into it.
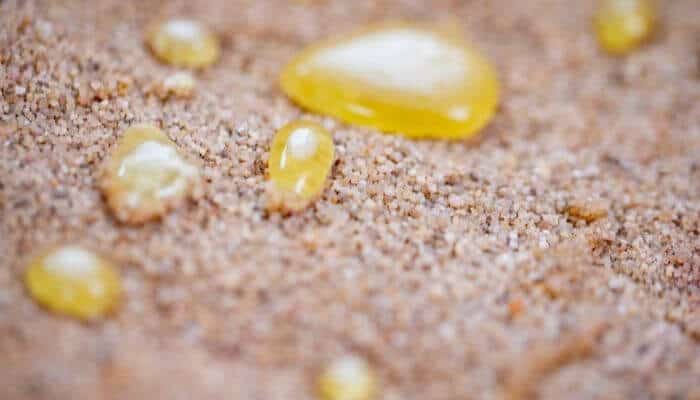
If it’s not working, your sand needs more coating.
Just repeat steps 5 to 7 again until the sand is waterproof.
How To Make Waterproof Sand Without Scotchgard
If you don’t have any Scotch guard lying around or you simply don’t one to purchase one, you coat sand with wax to make it waterproof.
Follow the instructions below:
Materials
- Dry sand
- Wax (crayons will also work)
- Cookie sheet or bowl covered in foil
- Spoon that can be coated with wax
Instructions
- Melt the wax, then mix it with the sand. If it’s a hot summer, you can place the pan, wax, and sand outside. If it’s not, pour the sand and a little wax onto the covered baking sheet and put it in an oven at a low temperature until the wax melts.
- Once the wax has melted, remove the pan from the oven or outside, stir the wax and mix it with the sand until everything is coated.
- Let the sand cool down before using.
Hydrophobic Sand Uses
Hydrophobic sand can be used to trap petroleum spills from oil tankers found in coastal waters.
This type of sand does not allow water molecules to pass through its layers except for oil, which is why it is useful to cleanse water from oil contamination.
So, when oil-contaminated water comes in contact with hydrophobic sand, the oil quickly goes into the sand, leaving the water clean and free from contamination.
If you try to sprinkle this sand on floating petroleum, it attaches with the oily element, resulting in clumps of oil trapped in the sand.
This makes it easy to remove the oil and prevents the petroleum from contaminating beaches and marshes.
In addition, waterproof sand can also be used in areas such as dumpsites, where the sand is put under the waste materials.
So, if there’s a leak coming from the waste, the sand will absorb it, protecting the natural groundwater underneath.
At home, you can use it to protect any material that tends to discharge oil to protect against contaminating other things.
Of course, you can also use it for fun by pouring it into some water.
The sand can sometimes change its color and glisten like metal.
Once you’re done admiring it, you can scoop it out and remove it from the water.
You’ll be surprised that it’s still dry.
How Waterproof Sand Works
Waterproof sand is also known as magic sand, which is why many people assume that it works because of magic.
But it behaves the way it does because of chemistry.
First, the Scotchguard, wax, or other coating seals the crack or pits of sand, preventing water from sticking in.
The nature of the sand depends on what coating is used.
For example, commercially available hydrophobic sand, like Magic Sand, Space Sand, and Aqua Sand, is coated with Trimethylsilanol ((CH3)3SiOH).
The methyl groups block any silicate and water from coming into the sand.
On the other hand, wax is an organic compound that repels water, while Scotchguard contains hydrophobic chemicals, but which chemical waterproofs the sand depends on the age of the Scotchguard.
Those that are manufactured before 2003 contain perfluorooctane sulfonate (PFOS), while the ones after 2004 have been replaced by perfluorobutanesulfonic acid (PFBS) because of health and environmental concerns.
When you put hydrophobic sand in water, it will appear silver, no matter what the original color is.
This happens due to the hydrogen bonding between water molecules producing bubbles around the sand particles.
Essentially, the water naturally sticks itself to the coated sand.
However, this anti-wetting property only works on polar molecules like water and not on other liquids, which is why it can clump together when oil is present.
Conclusion
If you need waterproof sand, making one isn’t too difficult, especially if you have wax and Scotchguard available.
Apart from using it as a DIY toy for your kid, hydrophobic sand is also useful on oily materials as it can attract the oil, leaving surfaces or areas clean.
