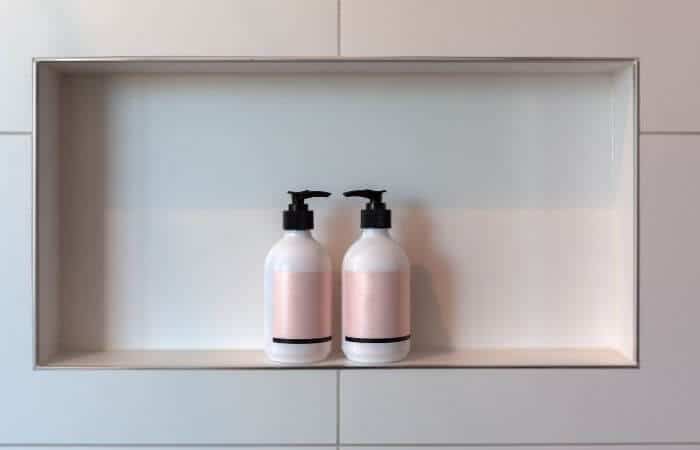
Shower niches are a weak point in your bathrooms defenses against water.
While shower walls are relatively easy to waterproof shower niches are a bit more complex to keep 100% waterproof.
A poorly waterproofed shower niche can allow water to trickle into your wall cavity which can cause serious structural and electrical problems, the same is also true if you have a window in your shower that hasn’t been properly waterproofed.
Before we get into the step by step of how to waterproof a shower niche two things to be aware of are:
- Avoid lining your shower niche with standard drywall as this doesn’t perform well at all if any water should get through.
Instead use a wet room tile backer board such as Aquadry or DensShield.
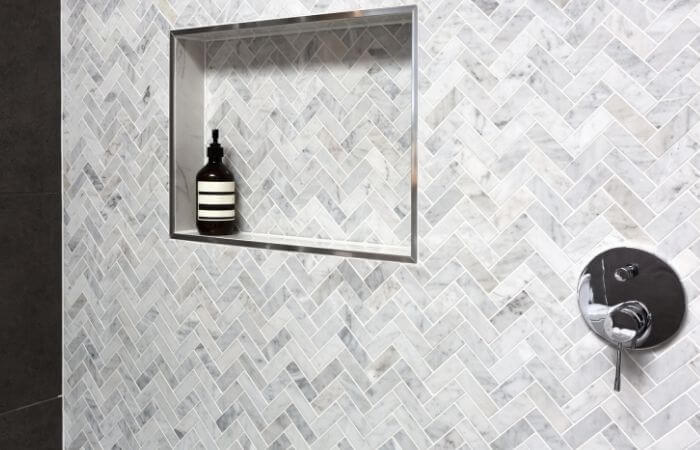
- We recommend not using a niche insert as often when these are installed the only thing preventing water from getting into the wall cavity is a bit of sealant between the insert and the wall.
If you are going to install a niche insert then ensure that the tiles are removed around the niche and the insert is properly secured to the backer board before tiles are refitted over it to ensure it is fully waterproofed.
You will need:
- Fibreglass tape (fibreglass is a great waterproofing product)
- Waterproofing membrane (liquid membrane is easiest to use but you can use a sheet membrane)
- Scissors
- Putty Knife
Follow these steps to waterproof your shower niche:
- Cut the fibreglass tape to cover each part of the niche, ensure that each piece is oversized so that it overlaps the corners and edges by at least a couple of inches.
- Use the putty knife to cover the niche with waterproofing membrane.
- Place the fibreglass tape in place and paste it down, start with the smallest pieces (the bottom and top) first.
- Use additional small pieces to add fibreglass tape to the corners.
It is important to ensure that the corners and seams are well covered as these are the weak points where water is most likely to seep through. - Use butterfly patches to properly cover the internal corners.
- Thoroughly apply the waterproofing membrane and tape over the entire niche until it is completely covered.
- Leave to dry for 48 hours.
- Now it’s all waterproofed and ready to tile over.
Check out this video from TIleMasterGa for a visual walkthrough of how to do the above.