To waterproof your lights, you’ll need to seal all the openings with silicone and place waterproof gaskets on all plugs.
Here are the steps you need to take to waterproof Christmas light connections:
1. Choose the Right Cord
When choosing the extension cord for the job, make sure to select one that doesn’t have many openings.
A lot of cables have openings in the connector area, which will let moisture enter and ruin the lights.
Instead, grab a contractor-grade cord.
There are also waterproof multi-plug cords you can use.
Some cables may still have openings; you’ll have to seal those with silicone to avoid any issues.
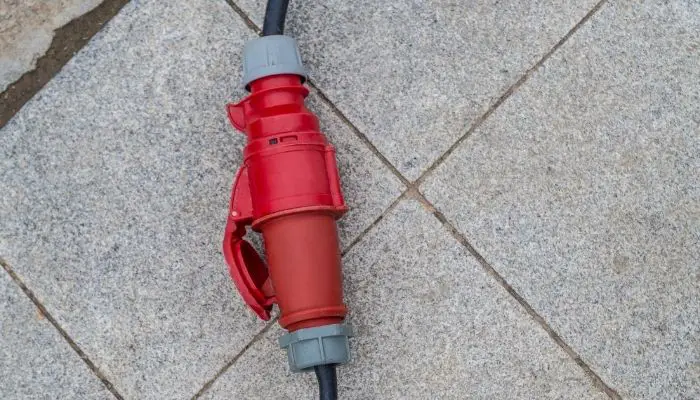
2. Fit A Weatherproof Gasket
Now that you have your cord sealed and your lights unplugged, it’s time to install a weatherproof gasket, a similar alternative is a socket box, which are often used to keep outdoor plugs dry.
This fits over the light’s male connector. You’ll merely have to press it onto the connector. The gasket will then keep the moisture out.
If your cord has multiple outlets, you should attach gaskets on the female connectors as well.
Make sure that every single connection in your wiring has a gasket covering it so that water can’t get in anywhere.
3. Position the Lights Correctly
After you’re done waterproofing the lights, you should know how to position the string correctly so it’s not at risk of catching water.
For example, if you’re putting the lights up on the outside of your house then placing the wire in the gutter, instead place it beneath the gutter (where water won’t collect), you can use the gutter guards to pin the wire in place.
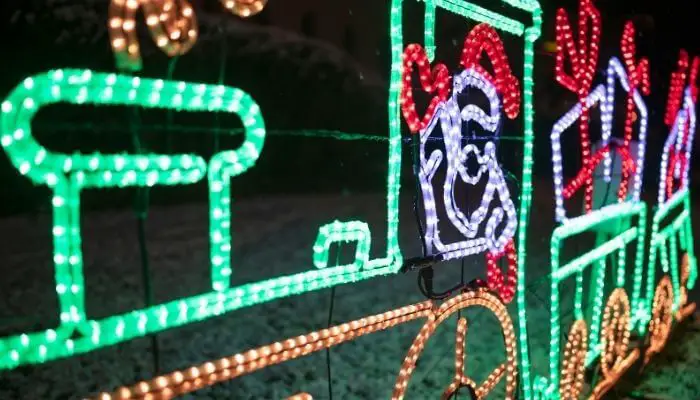
The main thing is to avoid placing the wire in areas where water is likely to collect, you don’t want any wire to be sitting in a puddle.
Also Read: How To Waterproof LED Strip Lights
