Whether your child has created a special piece of artwork for you, you are creating a bespoke card or envelope for someone or you need to put a notice outside there are many reasons why you may need to waterproof some paper.
Thankfully there are also many ways that this can be achieved.
Below are 7 of the most effective methods:
1. Microglaze
Microglaze is an ‘all-purpose paper protector’ with an oily consistency similar to vaseline, it does a great job of waterproofing your paper.
Here’s how you use it:
- Before you start make sure that all the ink on the paper is completely dry or it will get smudged.
- Open the pot and put a small amount of microglaze on your index finger.
- Rub the microglaze over the paper using a swirling motion.
- Keep going until the entire paper is covered, do not apply too much glaze as you want a very thin film to avoid the paper becoming too oily.
- Leave the glaze to dry for 20 minutes.
Be aware it can take up to two minutes to apply the glaze to each piece of paper so if you have a lot of paper you need to waterproof then this method isn’t particularly efficient, it is best suited to one-off pieces of artwork.
2. Waterproof Spray
Waterproof spray is one of the quickest ways to waterproof paper.
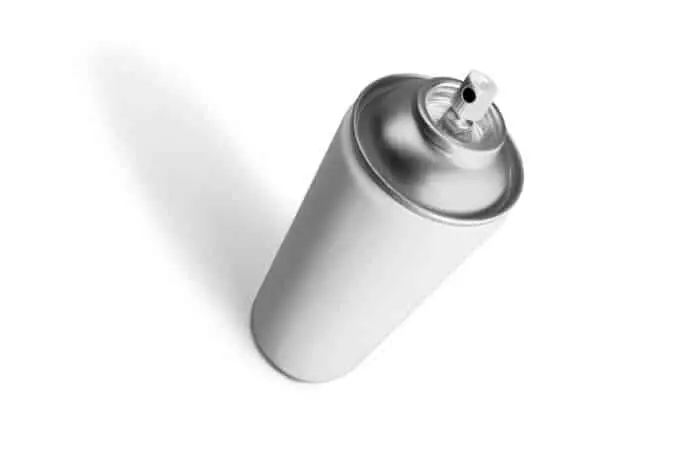
Caution is advised when using waterproof sprays, always use them in a well ventilated area (preferably outdoors) and wear protective clothing while spraying.
To waterproof your paper with a spray follow these steps:
- Put on some rubber gloves and a mask (if you are in a closed area).
- Shake the can vigorously for 10 seconds or so to ensure the spray is well mixed.
- Place the paper on some newspaper or cardboard to prevent spray from going on other surfaces.
Alternatively peg the paper to a clothesline, this will make it easy to do both sides. - Hold the can about 12 inches / 30 centimeters away from the paper and spray the paper until it is completely covered.
- Allow the paper time to dry before you pick it up. 10 minutes should be enough depending on how liberally you sprayed it.
3. Wax
Wax is a very effective waterproofing treatment as it creates a layer that water cannot penetrate.

Be aware that this method is time-consuming so it is best used on one-off projects.
You will need a wax candle.
The colour of the candle doesn’t matter as you won’t really see it, however if this is a concern then use a white candle, a birthday candle is ideal as this can easily be held like a crayon.
Follow these steps:
- Slice a thin layer of the candle off to expose the clean softer wax inside.
- Take the candle and gently rub it over both sides of the paper until it is covered with a layer of wax. Be careful not to rub too vigorously as it is easy to tear the paper using this method.
This method is also useful for making cardboard boxes waterproof.
4. Mod Podge
Mod Podge is an adaptable product which is several things all mixed into one, it can be used as a glue, a sealer, and also to give your craft a nice finish.
It is a product that will be very familiar to crafters, as it has been around since the 1960s and is well known and loved for its versatility.
Before we explain how to use it please note that Mod Podge is not actually fully waterproof, rather it is water-resistant.
So if you want to pin your paper to an exposed wall somewhere where it will get regularly soaked then this isn’t a good choice.
However, if you want to use it on an envelope or something that will be pinned on a covered porch then Mod Podge will be more than up to the job.
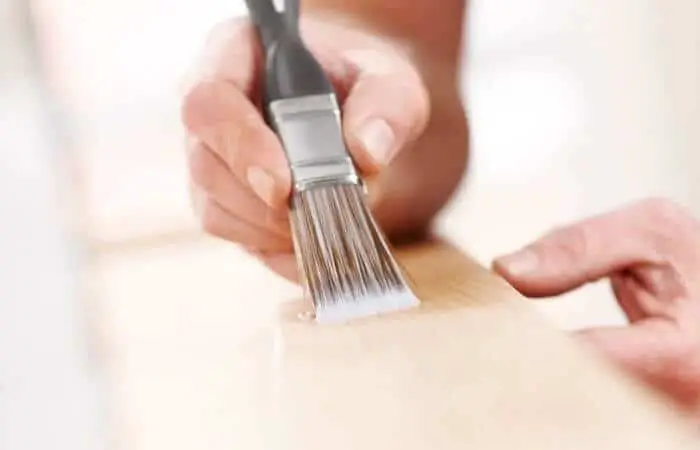
To use Mod Podge on your paper find a paintbrush and then paint a thin layer over the surface of your paper and leave it to dry for at least one hour.
5. Clear Nail Polish
This method is commonly used for origami and paper jewelry creations as it gives the paper are hard outer shell which makes it more robust as well as waterproof.
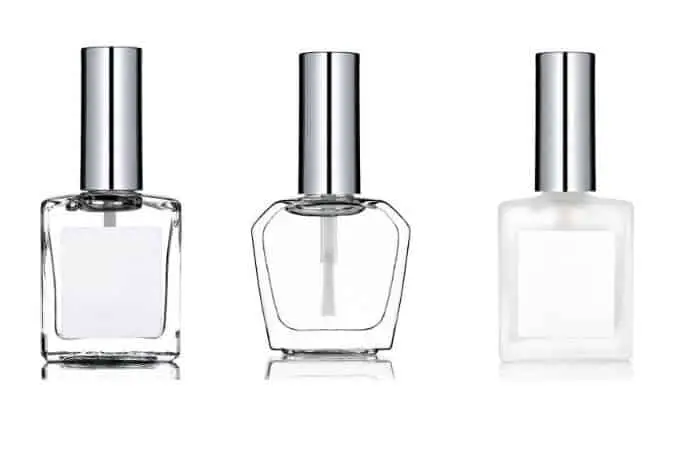
It can be used on flat paper i.e drawings and paintings, just be aware that it will give the paper a hard finish.
Follow these steps to waterproof your paper with nail polish:
- Get some clear nail polish.
- Use the brush to carefully paint a thin even layer over your paper.
- Leave to dry for at least 30 minutes.
Warning: Nail polish fumes are considered toxic because they contain acetone and toluene, inhaling nail polish fumes can make you feel dizzy, light-headed and even nauseous.
It is a good idea to wear a mask and gloves when handling nail polish especially if you are using large quantities to cover a piece of paper.
6. Lamination
Providing you have access to a laminator then lamination is a very easy way of waterproofing paper and can be used on multiple sheets fairly quickly.
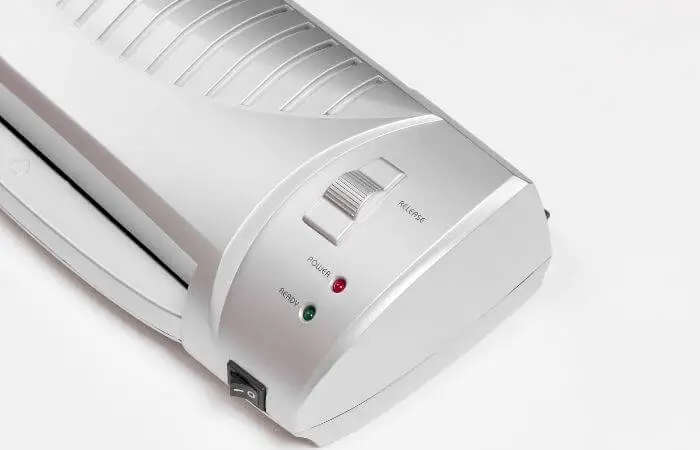
Of course, most of us don’t have a laminator lying around at home however you can usually find one available to use for a small fee at your local library or office supplies store.
There are two types of laminator you can use:
- A roll laminator – these are best used when you have a high volume of paper to laminate.
It uses heated rollers which melt glue onto the roll of lamination film, this is then firmly rolled onto the paper giving a professional and durable watertight finish. - A pouch laminator – these are the most common types of laminators in use.
To use a pouch laminator you place your paper inside a purpose-made lamination pouch that is pre-sealed at one end.
The edges of the pouch contain heat-activated film which seals as the pouch passes through the machine.
7. Wood Varnish
Varnish is typically used to protect wood however it can be used very effectively to waterproof paper.
Make sure you use clear varnish otherwise you are going to be left with a strange-looking effect on your paper!
Be aware that wood varnish contains various solvents that can be toxic as well as carcinogens such as benzene which is also highly flammable.
It is therefore vital that you apply varnish in a well-ventilated place (preferably outdoors) and wear a mask when handling it.
To waterproof your paper using varnish follow these steps:
- Peg your paper to a clothesline or lay it down on some cardboard.
- Use a small paintbrush to carefully paint both sides of the paper without over-saturating it.
- Leave to dry for a couple of hours. When used on wood it is recommended that you leave varnish to dry for 24 hours however because the paper has a very limited capacity to absorb and retain varnish it won’t take anywhere near as long to dry.
Also Read:
How To Waterproof Paper Mache
Is Contact Paper Waterproof?