Having a basement in your home has many great benefits. You can use it as an extra storage space, a recreational space, a bathroom, or even a bedroom.
The problem with basements, however, is that because they’re built below grade, rain and groundwater can enter in a variety of ways.
Even if they don’t get flooded, basements that aren’t waterproofed tend to be damp all the time.
That’s why, before you convert your basement into a living space, you should consider waterproofing it.
In this article, we’ve put together a comprehensive guide on how to waterproof a basement properly. So, be sure to stick around!
Basement Tanking
Basement tanking, also known as cellar tanking, is the process of applying a liquid waterproof coating to a basement’s walls, floor, and, in some cases, roof.
This coating, which is usually cement or slurry, serves as a protective barrier.
This consists of applying a waterproof coating to treat a structure’s damp surfaces thereby preventing water ingress.
The coating creates a smooth, watertight surface in the basement that’s both aesthetically pleasing and long-lasting.
How to Tank a Basement:
When it comes to basement tanking, it’s very crucial to follow the steps below to ensure you’re creating a highly protective barrier.
1. Prepare the Basement for Tanking
Begin by removing all loose materials and dust from the basement and walls.
You must also remove all plaster and render from the walls to expose the concrete.
If the walls or floor have any cracks or holes, you should fill them with a fillet seal.
In addition, if the basement is prone to high levels of salt, you should use a salt inhibitor to prevent salting, which could jeopardize your tanking.
2. Mix Tanking Slurry
Because slurry is alkaline, you should wear a facemask, goggles, and gloves when working with it.
Each tanking slurry brand has different mixing instructions, so follow the instructions on the slurry’s label.
Make sure to make only as much as you’ll need within 30 to 45 minutes.
3. Create a Wall-to-Floor Junction
The junction of the wall and the floor is a potential weak point in any waterproofing system.
That’s why you should pay special attention to it.
Begin by creating a 20mm x 20mm cutting at the wall-to-floor junction, then flush it with water to remove any dirt and debris.
Next, apply a coat of slurry 100mm up the wall and 100mm across the floor while the surface is still damp.
Finally, apply a fillet seal over the slurry and fill the chase from wall to floor.
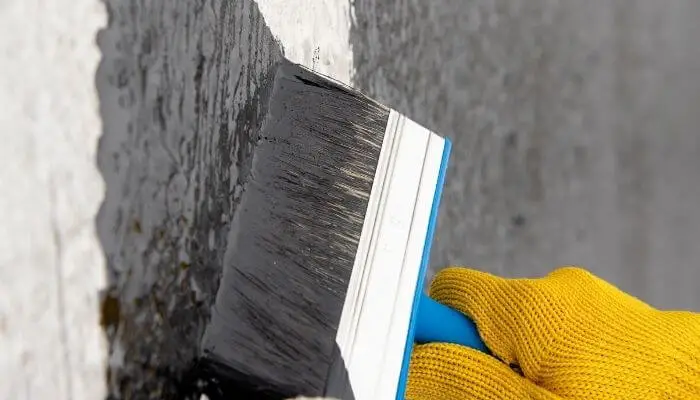
4. Apply Slurry to the Surface
If the surface is relatively dry, wet it with clean water until damp but without allowing water to accumulate on the surface.
Apply the first coat of slurry in horizontal strokes, making sure to apply the slurry to the wall-to-floor junction.
After two to 24 hours, apply a second coat, this time vertically, and allow it to cure for another 24 to 48 hours.
Don’t worry if you see moisture accumulating on the wall as it cures. Tanked surfaces tend to “sweat” as they dry.
5. Apply a Render
After the slurry has cured, you have to cover the surface with a breathable render before painting or decorating.
You can use a renovating plaster or a mix of three parts sharp washed sand to one part cement.
Apply a 10mm coat of the render to the tanked surface, and leave to dry for four to six weeks.
After the render has completely dried, you can paint or finish as desired. Just make sure to use only vapor permeable materials.
You should consider all decorations to be temporary for the first 12 months after tanking.
If you cover the tanked surface with vapor-trapping materials, you risk trapping moisture in the surface, which could lead to future issues.
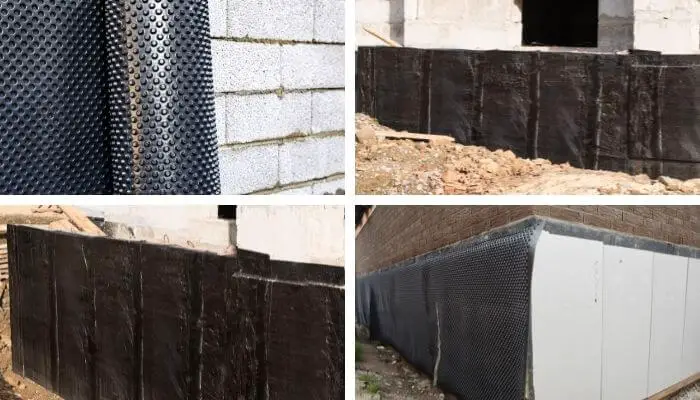
Cavity Drainage Membrane Systems
A Cavity Drainage Membrane System is the application of a studded-looking sheet onto the basement’s wall.
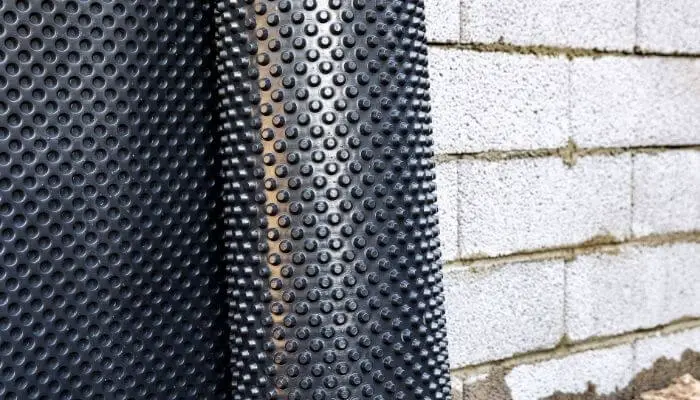
These sheets, or membranes, are fixed to the wall and sealed to keep water out.
The benefit of using a Cavity Drainage Membrane System is that it safely transfers moisture from behind the membrane to a controlled drainage system.
What’s more, the way the membrane is installed allows the structure to breathe, which helps it to dry if water ingress occurs.
How to Install a Cavity Drainage Membrane System
Here’s how to install a Cavity Drainage Membrane System:
1. Prepare the Wall to Be Worked on
Before you attach the membrane, you have to remove anything covering the wall.
Start by removing the skirting board by placing the chisel between the board and the wall.
With the hammer, carefully knock the chisel further between the wall and the board, loosening the board from the wall until you can pry it off.
Then, using the same hammer and chisel, carefully remove the plaster until you can see the concrete.
You should remove the plaster until you’re around 300mm above the damp surface.
Next, drill horizontal 12mm holes 150mm above ground level.
When you reach the end of the wall, drill 12mm holes vertically until you reach 300mm above ground level.
Fill up the holes with damp-proof rods, then apply a 100mm-wide primer or sealer to the wall’s perimeter.
2. Attach Membrane to the Surface
Place the cavity membrane on the concrete wall, then drill 8mm holes through the membrane into the wall behind.
Wrap membrane fixing plugs in sealing rope, insert them through the holes you’ve made, and hammer the plugs into the wall to secure the membrane.
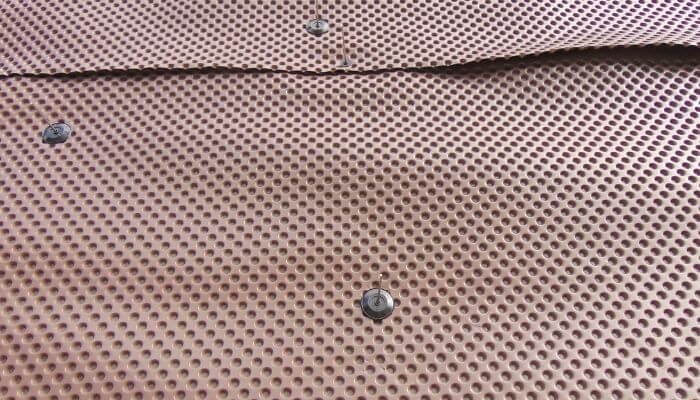
Once all holes have been plugged, lift back the membrane edges and apply sealing rope around the perimeter.
Push the edges back into place, squashing the sealing rope against the wall.
Place overtape around the perimeter of the membrane, ensuring that the tape is half on the membrane and half on the wall.
The final step in fully securing the membrane to the wall is to bond the membrane to the wall.
Apply a layer of adhesive to the required depth to blend well with the wall, then place plasterboards, making sure that the dabs go onto the membrane plugs.
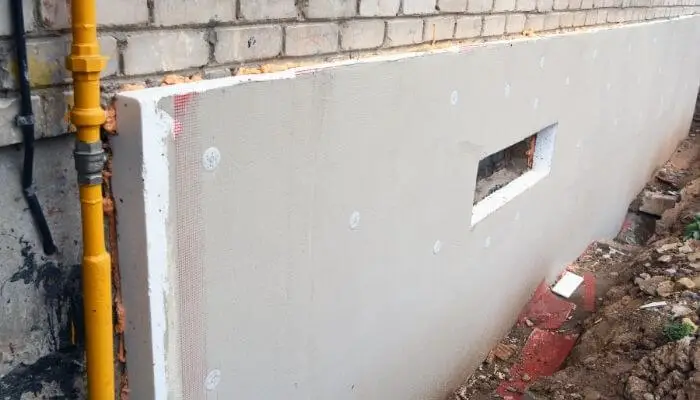
3. Finish Up With Final Details
a. Finish Work on the Wall
After you’ve secured the membrane to the wall, reattach the skirting and skim the wall with plaster.
b. Finish Work on the Floor
If you have timber floors, simply place the membrane beneath the floorboards.
If you have concrete floors, you should do as follows:
- Using a diamond-bladed grinder, cut a small fillet near the floor edge
- Place membrane under the cut-out fillet
- Apply primer to the wall behind the membrane
- Install rope bead between the membrane and primer
- Cover the membrane with overtape to seal it
That’s it, job done!
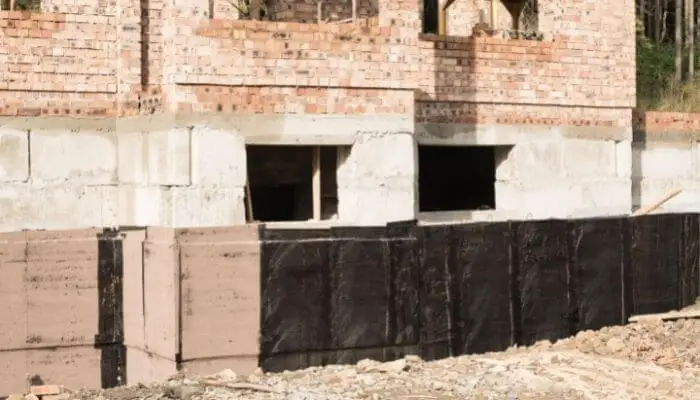
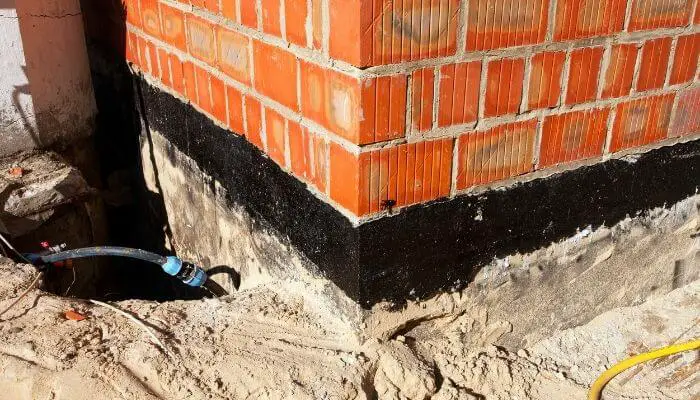
How to Waterproof a Basement from the Outside
Waterproofing a basement from the outside is a highly effective method of preventing water from entering the basement.
1. Excavate the Soil
The first and most exhausting step is to excavate the soil around the foundation all the way down to the footings.
For a full basement, this could be as deep as eight feet.
You should also excavate the soil several feet wide to give the contractors enough room to work.
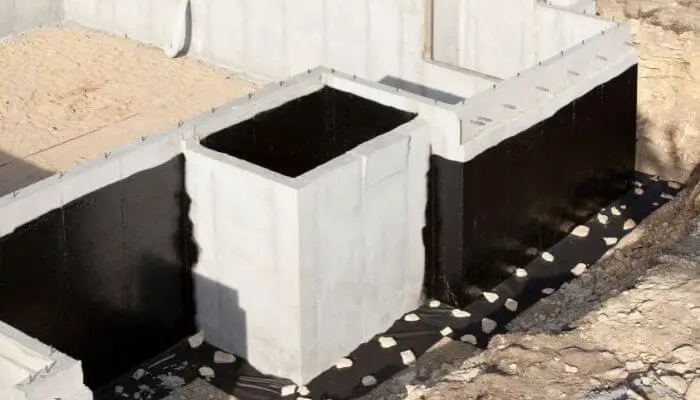
2. Install Moisture Barrier
Apply a thick coating of asphalt-modified polyurethane and leave it to cure.
It’ll create an effective barrier, but you should follow it up with a heavy-duty plastic drainage board.
3. Fill Surrounding Area With Gravel
Replace 3/4-inch of dirt around the perimeter of your basement with washed gravel.
The gravel is intended to relieve stress on the foundation caused by hydrostatic pressure and water leaks.
4. Establish Draining System
The least invasive draining system is the French drain.
Your licensed contractor digs a footer drain from your house to a distant location.
Then, he lines the drain with porous landscaping fabric and gravel.
Next, he installs a perforated pipe with the pores pointing down and wraps it with landscaping fabric.
Lastly, he covers the wrapped pipe with soil or landscaping materials.
How Much Does It Cost to Waterproof a Basement?
Interior basement waterproofing can cost anywhere between $500 and $10,000.
This huge cost discrepancy is due to the many methods and materials that you can use to waterproof your basement.
Depending on the size, age, and foundation type of your basement, you may need to employ some of the more expensive methods or combine several techniques to effectively waterproof it.
What’s more, if this is the first time your basement is being waterproofed, the drywall and flooring may need to be replaced to remove any water.
These demolitions incur additional expenses.
Waterproofing a basement from the outside, on the other hand, is a more complicated process that usually requires the services of professionals, making it more expensive.
The cost also varies depending on whether you are waterproofing an existing home or one that is being built.
Waterproofing an existing house is difficult, time-consuming, and sometimes dangerous.
That is why it is more expensive than waterproofing a house while it is under construction.
In fact, the average cost of exterior basement waterproofing, according to Fixr, is between $3,000 and $15,000.
Do You Need a Permit to Waterproof a Basement?
In most cases, minor waterproofing repairs don’t require a permit. Complete interior waterproofing and drainage considerations rarely alter the house’s structure.
As a result, you shouldn’t need a permit as long as you’re not making any major structural changes.
However, if you’re waterproofing the basement’s exterior walls, you’ll most likely need a Building Permit.
Some building departments may even specify that only a licensed contractor can do the job.
What’s more, if your basement requires excavation or underpinning, you’ll almost certainly need a permit.
At the end of the day, the purpose of obtaining a permit ensures your safety and that the job is done correctly.
It also ensures that you follow the municipal codes and don’t violate any ordinances.
That’s why it’s always a good idea to check with your local building department to see if your waterproofing project will necessitate a permit.
Authorities have the right to halt your project until you obtain the required permits, and no one wants to start working on their home only to have to stop for days or weeks to resolve the issue.
Go Waterproof Your Basement..!
Damp, humid basements don’t only limit your options for how to use this extra space.
They also serve as a perfect petri dish for molds and fungi to grow in your home.
Luckily for you, you now have the knowledge to ensure that no drop of water ever makes its way into your basement again!
If you find that after waterproofing your basement you are having problems with condensation then read our article on how to keep your basement dry (without a dehumidifier).
