If you’re a homeowner or a prospective buyer, having an inground pool can be a great asset to your property.
Building one out of cinder blocks is cheap and easy, but the waterproofing step can be tricky.
Some people get a vinyl pool liner as a “one and done” step for waterproofing.
However, pool liners are costly and don’t last as long as traditional waterproofing techniques.
Filling up the cracks with hydraulic cement, using Flex Seal, and then coating the pool with Drylok Extreme can keep your structure watertight for 20+years with minimal maintenance.
Let’s go over the steps of how to waterproof a cinder block pool.
Tools Required:
To take on this project you’ll need:
- Eye protection
- Heavy-duty gloves
- Respirator mask
- Wire brushes
- Clean-up gear (vacuum, brooms, rags)
- Mechanical mixer
- Putty knife
- Hydraulic water-stop cement which is waterproof
- Flex Seal (spray, liquid, or paste)
- Drylok Extreme
- ¾-inch nap roller, a Drylok brush, a nylon bristle brush, or a heavy-duty masonry sprayer
- Sandpaper
1. Seal With Hydraulic Water Stop Cement
Hydraulic water-stop cement, like Quikrete, is a repair material characterized by its rapid setting and ability to be used on active pool leaks.
This is an important step in waterproofing your pool since cinder blocks tend to chip and crack.
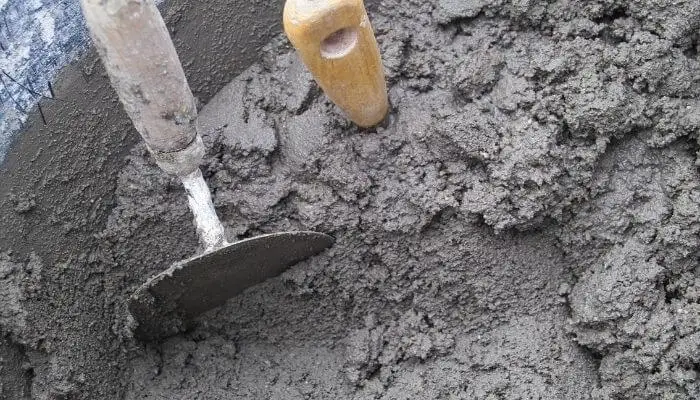
The material usually sets in 3-5 minutes, with the ability to delay the working time if you mix it with cold water.
However, the temperature shouldn’t be anywhere near freezing while you work with it, or else the material won’t set properly.
This will cause the cracks to widen as the cement chips away.
How to Apply Hydraulic Water-Stop Cement to Your Pool:
- Clean out the pool from any dirt, oil, or debris.
- Undercut the areas you want to patch up and widen any small holes.
- Use a mechanical mixer with rotating blades to ensure an even mix.
- Pre-wet the mixer then remove the excess water.
- Follow the manufacturer’s instructions when it comes to water-to-dry mix ratios and add the water first, then the dry mix.
- Start mixing, only making a small batch of cement that can be worked before it completely sets.
- Fill up any cracks or holes, putting up vertical support to prevent the material from sagging.
- Wait till it sets completely then sand it for a smooth finish.
2. Use Flex Seal on Pool Corners and Edges
Flex Seal is a material that sprays out as a thick liquid, seeps into any microcracks, and then dries up to form a rubberized shield that’s both watertight and flexible.
This step is important for the corners, edges, and vertical stops in the pool because it keeps them sealed as the structure “settles” over the years.
Flex Seal comes in many form factors: a spray, paste, or liquid.
You can pick whichever one you’re more comfortable using.
The spray is by far the easiest one to apply as it doesn’t need any special equipment and can be simply directed to the area you want.
How to Use Flex Seal on Pool Corners and Edges:
- Make sure the surface is clean from any dirt, oil, or debris.
- Wear protective gear (goggles, gloves, respirator mask) before using the spray.
- Spray the product from an 8”–12” distance, evenly coating the area and feathering to the sides a little.
- Allow 24–48 hours to pass for the first coat to dry completely before applying another coat.
- Repeat this step until the corners, edges, and the floor-wall joint are completely coated
- Wait until the Flex Seal is completely dry before proceeding to the next step.
- Make sure you apply several thin coats instead of a single thick coat, that way the material will cure better and prevent any leaks due to incomplete settings.
3. Coat the Entire Pool Inside With Drylok Extreme
Drylok Extreme is a designated waterproofer that’s used on masonry to almost completely seal all of its pores.
It creates a semi-Impermeable coating that keeps water and vapor out (<1 perm rating) and contains a biocide to resist mildew growth on the dry paint film.
It comes with the following specifications:
- Reduces radon gas penetration
- CSI Masterformat® 07 14 16 Cold Fluid-Applied Waterproofing
- CSI Masterformat® 07 19 00 Water repellents
- CSI Masterformat® 09 91 13 Exterior Painting
- CSI Masterformat® 09 91 23 interior Painting
It’s latex-based and comes in a bright white finish that can be tinted any color you want.
Drylok Extreme can be applied just like any other paint, using a ¾-inch nap roller, a Drylok brush, a good-quality nylon bristle brush, or a heavy-duty sprayer.
It can be top-coated after only 24 hours and is very easy to maintain and clean using just soap and water.
How to Apply Drylok Extreme to Seal the Pool:
- Use a wire brush to clean the surface and to remove any broken or loose mortar and debris.
- After you’re done with the previous two steps (filling the gaps and sealing the corners), proceed to the painting step.
- Paint the first coat of Drylok using a brush, roller, or sprayer.
- Wait until the first coat is completely dry before you apply the second one.
- Tint the Drylok any color you want your pool to be for the second coat.
- After the second coat has fully dried, inspect the walls and floor for any pinholes or cracks.
- If there are any holes or cracks, sand around them and paint or spray another coat of Drylok.
- Make sure the Drylok coats are completely dry before you test the pool out.
Annual Maintenance
The best thing about taking the time to go through the traditional waterproofing steps is that the maintenance is very minimal.
Vinyl pool liners tend to sag, bead, fade, and crack, needing replacement every 10–15 years.
They can also be very costly, with liners for large pools costing almost $5k.
The aforementioned method can last you well beyond 20 years before needing to be redone, since all the components used to build and waterproof the pool last at least this long.
All you have to do is be vigilant and spot small problems before they get bigger and more expensive to repair.
Once you notice any small cracks or peeling paint, drain the pool and inspect the area as well as the extent of the cracking or peeling.
If it’s a minor problem, sand the area, spray some Flex Seal, and then repaint it with a couple of layers of Drylok Extreme.
Every 5–10 years, freshen up the Flex Seal corner and edge sealing to prevent it from drying up and cracking.
Keep in mind that the chlorine from the pool water, sunlight, as well as freeze-thaw cycles, can compromise the flexibility of the Flex Seal.
So, after you’re done, apply two or three coats of the Drylok Extreme.
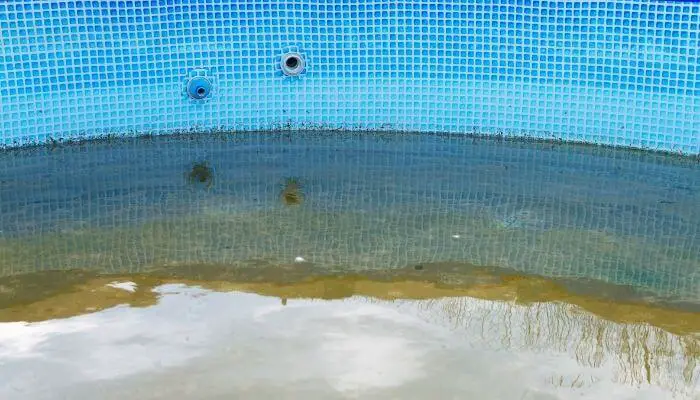
If you notice an area of your pool is more affected by a deposit of white salts, peeling paint, or cracks than other areas, you might want to check for efflorescence.
Efflorescence is when the wall “sweats” out water and salts, causing the paint to discolor or even peel away.
This area might need to be redone after the root cause (groundwater or a broken pipe) is treated.
Final Thoughts
Waterproofing your cinder block pool can be a fun challenge to take on, just be prepared for a long process.
Every coat of repair and paint material needs at least 24 hours to fully cure and set.
That’s why it’s preferable to do this project in the summer when it’s warm and predictable since most of the materials fare better in hot weather.
Just make sure to read the manufacturer’s instructions.
They usually contain a lot of valuable information about the product and how to get the best results.
And remember to always wear personal protective gear to avoid inhaling any dust or chemical particles that can harm your health in the long run.