Have you recently bought a boat or a beach house with subfloors made of plywood? Are you worried about the fine-looking plywood getting ruined by the water?
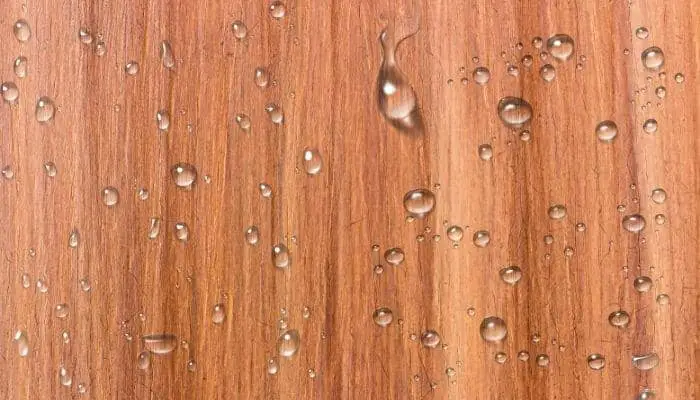
Plywood is technically water-resistant however it is not fully waterproof.
Thankfully it is possible to waterproof plywood fairly easily.
Each method has its pros and cons, so it’s up to you to pick what suits you the most. Here’s a roundup of the most efficient methods.
1. Buy a Waterproof Subfloor
Waterproof subfloors are simple to install with a bit of D.I.Y skill.
There are two different ways to waterproof plywood.
Coating The Wood
One way is by laminating the plywood with a coat of paint.
This coat makes the plywood durable, water-repellent, and long-lasting.
Manufacturers use different hydrophobic sealants, such as polyurethane or epoxy, to add a protective layer on the subfloors and make them waterproof.
Chemically Treating the Wood
A simple process can chemically treat plywood to avoid any type of absorption of water.
Manufacturers change the chemical composition of the wood itself to make it hydrophobic.
This makes the plywood waterproof.
Investing in this is a good choice if you’re looking for dependable technology used on the plywood.
You can also hammer in any nails as you please without worrying about it degrading the material.
Waterproof plywood can be expensive.
However, if you shop from the right places, you’ll end up paying 0.5 to 1 dollar per square foot.
2. Use Floor Sealant
Floor sealants are an extra protective layer that makes plywood waterproof because they’re made of bonds that repel water.
These seals often come in tubs that resemble paint, but they’re not colored.
There are different types of floor sealants, but they only differ in chemical composition.
The overall result is the same.
A tub of acrylic floor sealant will cost ten to fifty dollars per gallon. So, this option is very affordable.
A layer of floor sealant takes around six to eight hours to dry fully. However, the time frame will differ across each brand, so remember to read the label.
Using floor sealant to waterproof plywood is a simple process.
You’ll need:
- Floor sealant
- Paint roller
- Paint tray
Then follow these steps:
- Start by filling up your paint tray with two inches of floor sealant.
- Brush or wipe any dust or dirt off of the plywood floors with a cleaning brush or dry rag.
- Then, apply a layer of floor sealant with a paint roller on the plywood. Focus on the edges as they encounter the most activity.
- Wait around six to eight hours for the sealant to dry.
- Repeat the process to add two more layers for a solid seal.
3. Use a Cement Backer Board
If you don’t want to alter the plywood itself, this method might be best.
Although you can attempt to make plywood waterproof, it won’t be 100%.
However, a cement backer board is highly water-resistant and won’t be damaged by prolonged water exposure.
The process of installing a cement board is a little more complicated than using floor sealant.
However, it’s still manageable if you follow these steps!
You’ll need:
- Cement backer board
- Drywall screws
- Sandpaper
- Thinset mortar
- Trowel
- Putty knife
- Measuring tape
- Fiberglass mesh tape
Then follow these steps:
- If the plywood seams are not even, start by evening them out with sandpaper.
- Next, use the drywall screws to screw the plywood to the floor joists. This ensures that the plywood is secure.
- Start cutting the cement backer board to fit the plywood. Use the measuring tape to be precise.
- Once they’re cut, spread out the boards with the thin-set mortar using a trowel.
- So the mortar doesn’t come up uneven or blotchy, comb it out with a scraping knife. This creates an even foundation for your floors.
- Connect the boards to the plywood using the drywall screws and the mesh tape. The seams need to be taped, while the actual boards will be screwed down.
- As a finishing touch, spread out the mortar over the tape with a putty knife.
- Wait 24 hours for the mortar to dry.
- Install the flooring and enjoy your secure, waterproof flooring!
