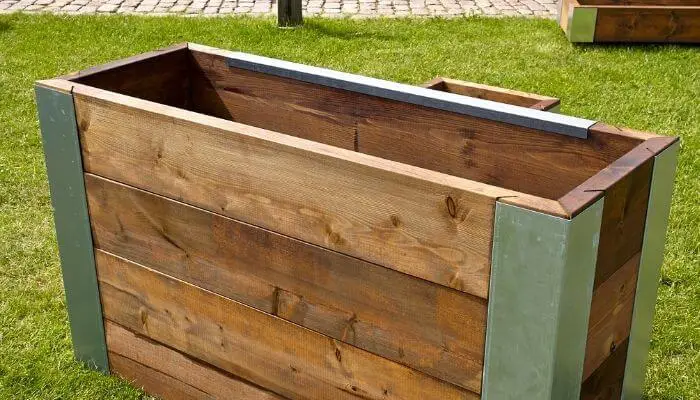
Untreated wood planter boxes will deteriorate when exposed to the elements, especially moisture.
Our step-by-step guide will explain how to waterproof a wooden planter box so you can use it for as long as you need without it decomposing.
The basic outline of this process involves drying the box, adding drainage holes, sealing the cracks, applying oil varnish, sanding the surface, and lining the interior with plastic. Let’s discuss these steps in detail.
1. Allow the Planter Box to Fully Dry
First things first, you need to make sure your wooden planter box is thoroughly dry.
Place a wooden planter, either pressure-treated or untreated, in a spot where it can sit undisturbed for 2 to 3 weeks after assembly.
This waiting period should be enough for the wood to dry properly to avoid sealing in unwanted moisture.
Keep in mind that wood shrinks as it dries, so you should expect to see the joints between lumber pieces increase in size.
As such, this drying period saves you from having to seal the joints twice in case they expand.
Note that wooden planter boxes made from pressure-treated lumber will last longer, but the wood will require more care when cutting since it contains chemical preservatives.
2. Make Drainage Holes
Next, you need to make drainage holes in the box to allow excess water to escape.
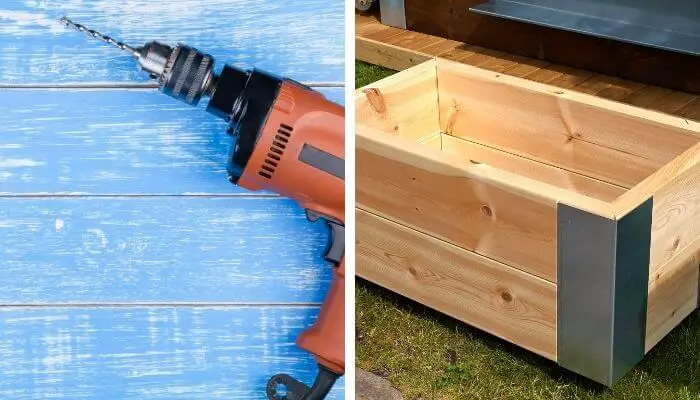
Drill as many 1/4-inch drainage holes as you see fit in the bottom of the wooden planter.
3. Seal any Cracks
Now is the time to seal any cracks by applying a bead of silicone caulk to fill them in.
Do the same for the joints where two pieces of lumber meet.
During this step, you may want to wear some tight-fitting, disposable gloves to avoid getting caulk on your skin.
Once the caulk is applied, wet your finger or glove to smooth out the uncured caulk, get rid of excess caulk, and form clean lines.
After that, let the caulk dry completely – this could take several days.
4. Apply An Oil-Based Varnish
Apply an oil-based varnish on the exterior of the wooden planter box.
You can either use a brush to apply the varnish or rub it on the box with a cloth.

Once again, you may want to consider wearing some protective gloves to avoid staining your hands with varnish.
Be sure to apply the varnish to the exposed wood where the drainage holes were drilled.
Apply multiple layers of varnish until the wood no longer absorbs it.
You should keep the wood surface wet for about 10 minutes to ensure thorough absorption.
5. Remove Excess Varnish
Using a clean cloth, wipe the excess varnish off of the surface. Then, allow the varnished planter box to cure for one day.
6. Polish the surface
Polish the varnished surface using some fine-grit sandpaper.
Then, apply one or two additional coats of varnish, letting it dry for a day between applications.
7. Line the Interior with Plastic
Next, line the interior of the wooden planter box with thick plastic.
You can use 6 mil polyethylene sheeting -used commonly for greenhouses- but even a plastic bag can work to waterproof the inside of the planter.
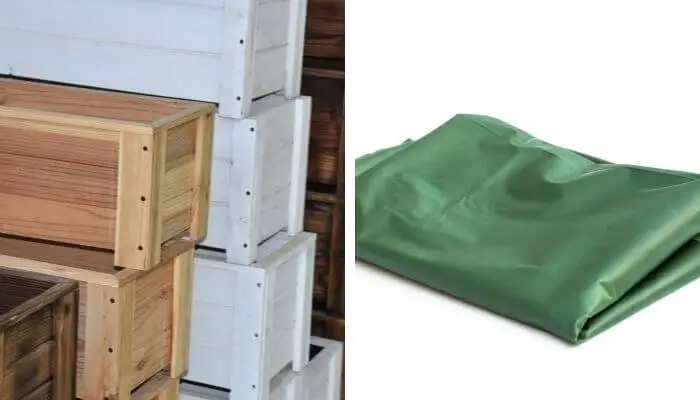
To achieve the best results, try folding the plastic bag in half to double its thickness.
Trim away any excess plastic from around the top of the wooden planter box.
8. Accommodate The Drainage Holes
Locate the spot(s) in the plastic above the drainage hole(s) at the bottom of the planter then cut a hole in the plastic to allow the water in the soil to drain through the hole(s).
9. Add the Soil
Lastly, lay a small piece of permeable fabric or mesh inside the planter to cover the drainage hole(s) and keep soil from falling through.
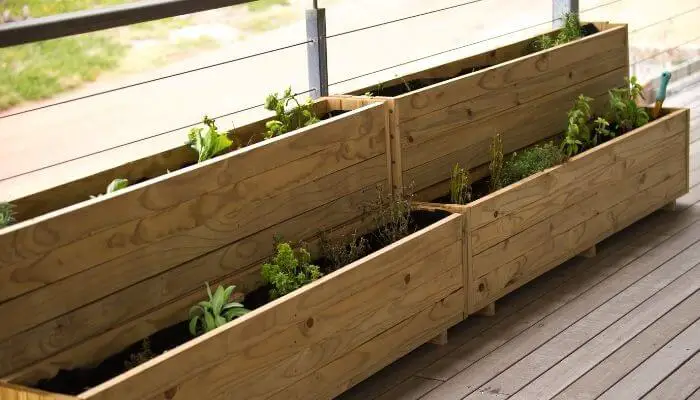
After that, fill the planter with your choice of potting soil.
The potting soil will push the plastic liner against the inside walls of the planter so you won’t need to staple the plastic in place.
Wrap Up
There you have it, a complete step-by-step guide on how to waterproof a wooden planter box.
The process is easy enough to DIY and the materials should be lying around your household.