Waterproof labels can be made using adhesive weatherproof or printable vinyl paper coated with polyurethane spray, or laminate paper.
To make your own waterproof labels try one of the following methods:
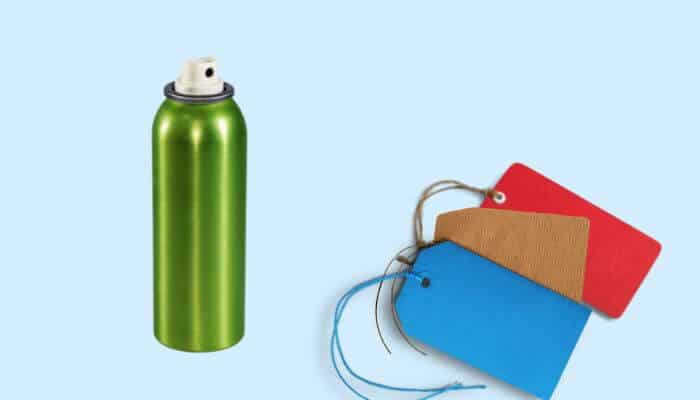
1. Use a Spray
There are different types of spray that can turn your labels waterproof, this also works very well for waterproofing similar things like stickers.
Something like PlastiKote would work well.
To apply the spray, follow these steps:
- Print your design using the photo paper or glossy setting on your printer
- Wait for it to completely dry. We recommend waiting a total of 24 hours
- Separate the matrix from your labels. The matrix is the face sheet material in between the labels
- Shake the spray can and spray evenly on your sheet, keeping around 10-12 inches between the can and the sheet – remember to do this in a well-ventilated place.
- Allow the labels to dry. This can take between 10-20 minutes.
- Optionally, after the labels are dry, you can spray again for a stronger sealant.
- Peel the labels off your sheet and use them.
You can also use this method to waterproof regular paper.
Notes:
- Different types of spray include aerosol spray and polyurethane spray. We recommend using a clear, glossy polyurethane coat because aerosol sprays are hazardous.
- Do not apply more than two layers of polyurethane spray since it could cause a bit of yellowing.
- Other types of sealants can be used, too, like clear varnish, paraffin wax, and mod podge. You can apply them using the same steps, except that you’d have to use a brush rather than a spray can
Pros:
- The spray is light and doesn’t add weight to your labels
- It’s cheap and easily found
- Resistant to UV lights
Cons:
- Must be used in an open area for ventilation
- Only waterproofs the exterior part of the label. So if you’re using regular paper labels, the adhesive part inside won’t be waterproof. It’ll lose its stickiness when exposed to water.
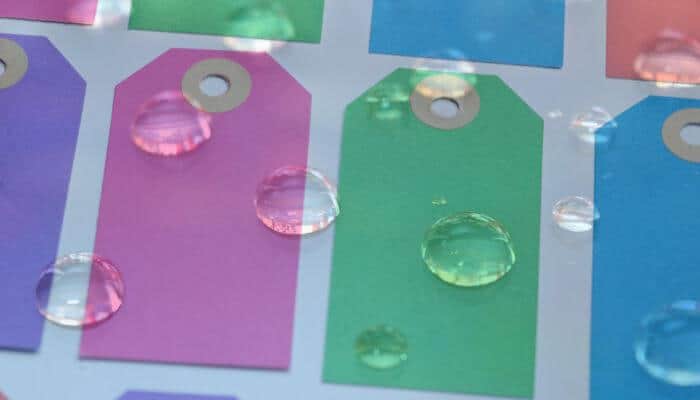
2. Use a Clear Sheet to Seal the Label
Laminating or overcoating your label is another way to waterproof it. This method can be applied with regular label paper or waterproof paper.
Here are the steps:
- Print your design using the photo paper or glossy setting on your printer
- Wait for it to completely dry. We recommend waiting a full 24 hours
- Apply your label
- Put a piece of your overcoat paper on the label, and press on it with force to eliminate air bubbles
- Make sure the overcoat is slightly larger than your paper, so it can coat it completely and cover all edges
- Let it sit for as long as possible
Notes:
- The longer you let your overcoat paper sit, the better waterproofing qualities it will attain.
- You may use a credit card to apply your overcoat paper to prevent bubbles from forming between the label and overcoat paper.
- You can choose between glossy or matte paper according to your needs.
Pros:
- Easy to fully coat the label
- You can choose from different thicknesses, colors, and opacities
- Completely waterproof
Cons
- Only waterproof the exterior part of the label. So if you’re using regular paper labels, the adhesive part inside will lose its sticky nature
3. How to Make Waterproof Labels With Cricut
If you have a Cricut machine, you’ll have even more fun making the waterproof labels. You can customize the labels all you want before you upload them to the machine.
Then, when they’re printed, you can laminate them for waterproofing.
Here are the steps you need to do:
- Prepare your designs. You can either make them yourself using Adobe Photoshop or similar software. Or, you can download ready-to-print designs online.
- Create a new Canvas on Cricut Design Space. All you have to do is click on New Project. On the left, you’ll see an Upload icon; click on it.
- Click Browse, then choose the designs you want to upload from your computer.
- When the image pops up, choose ‘Complex’ and then click on Apply. Click on Print Then Cut, and finally, click on Upload.
- Upload more images if you want, then select them all and click Add to Canvas. Make the necessary adjustments, and duplicate the labels that you want copies of.
- Load your printer with sticker paper and make sure it’s clean
- Click Make It on the top right side and wait for the images to process. Then, click on Send to Printer.
- After the labels are printed, place them on a plastic mat and process them into the Cricut for cutting. They should have a registration box around them, so the machine will recognize the edges.
- Stick a laminate layer on top of all labels, pressing it tightly using any card or a ruler.
- You can alternatively use a waterproofing spray, but make sure to use it in a well-ventilated area.
Can You Print Waterproof Labels?
It’s possible to print water-resistant labels. The first thing you have to consider is the type of printer. Inkjet printers use dye and ink and thus can sometimes smudge or smear.
Laserjet printers, however, use toner powder.
You can use both to print waterproof labels, but laser printers are the better option.
The laser printer will produce electrostatically charged dots, which attract toner powder. It’s then heated to stick to the paper.
Since there’s no liquid ink, it’s very rare for laser printers to smudge or smear.
All hope is not lost if you have an inkjet; there are now some water-resistant inks and dyes that are oil-based.
Using them and letting the printed paper dry completely before touching it will significantly reduce smearing and smudging.
Conclusion
When printing your labels, using a laser jet printer produces the best results. You can also use an inkjet, but if you do so, consider investing in some water-resistant or oil-based ink.
Coating your label with a sealant or a finish will make it a lot more durable. You can choose coating paper, spray sealants, or even wax. And that’s how to make waterproof labels!
