Do you need to make waterproof outdoor signs for your home?
Using wood as a material isn’t the only thing you need to create an outdoor sign.
There are other steps that you need to do to make it waterproof.
Materials
Below are the materials you’ll need to make one:
- Wood
- Sandpaper
- Wood putty
- Putty knife
- Water-repellent preservative
- Paintbrush
- Paint
- Wood sealer
- Plastic edge caps
Instructions
1. Choose a sturdy wood.
The wood you’ll use will dictate the lifespan of your sign.
So, it is crucial to ensure that you select the correct type of wood.

Red cedar, redwood, and cypress are all excellent materials to use for your outdoor project and can be easily found in the U.S.
You can also use treated wood.
You also need to make sure that it is quite thick.
2. Sand the wood.
Of course, you can’t use the wood as it is.
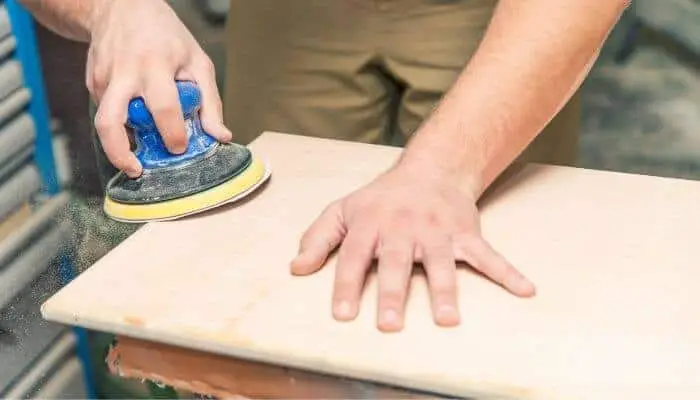
You need to go over its surfaces with sandpaper to ensure that it’s smooth.
Smoothing reduces the amount of water and moisture from dew, rain, or humidity that sticks to it.
3. Apply wood putty on damaged areas.
If there are any deep scratches, gouges, or other damaged areas, apply wood putty on them.
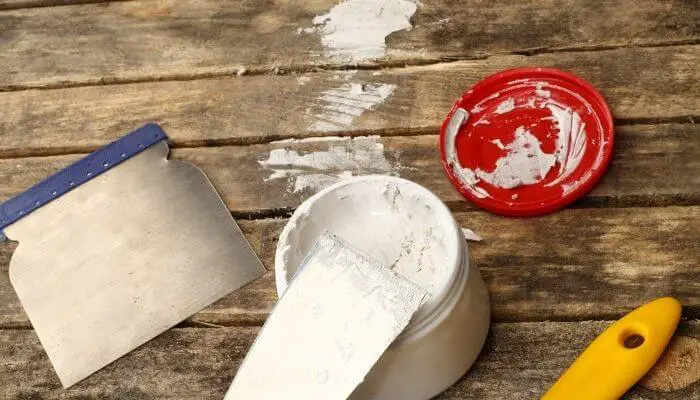
However, skip this step if you want a weathered or rustic look.
After the application, let it dry before proceeding.
4. Coat the wood with a water-repellent preservative.
Before sealing the wood, apply a coating of water-repellent preservatives.
This can help make the sign more resistant to outdoor conditions and extend the life of the paint you want to use on it.
However, only purchase a preventive that has the proper consistency for painting over. Otherwise, you’ll waste your wood.
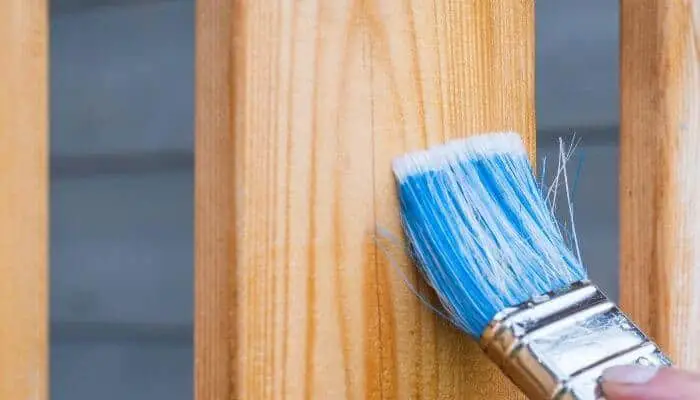
5. Paint the sign.
Once your wood is prepared correctly, you can add any desired paint to it.
However, you need to ensure that the paint you buy is manufactured for outdoor applications.
This is also a crucial step in making a waterproof sign.
It is best to use high-quality, acrylic-based paint as it sticks better than other types of paint.

The paint can help prevent the sun’s rays from weathering and fading the wood.
This is why you need to apply the paint in several thin coats to achieve maximum effectiveness.
Apart from paint, you can also use a good type of enamel.
This coating provides a hard outer surface to the wood.
Some types of stains are also semi-transparent and have chemicals that can repel water and preserve the wood at the same time.
6. Seal the wood.
After the paint dried up, apply a wood sealer using a clean paintbrush.
Make sure to spread it evenly over the surface and coat it twice, allowing it to dry in between coats.
This will prolong the life of both the paint and wood.
7. Cover the edges of the wood.
The edges of the wood retain the most water.
That’s why it is important to keep them protected.
Otherwise, it will be the reason why your sign is destroyed quickly.
Put plastic edge caps on the ends to protect the whole wood.
How To Waterproof A Cardboard Sign
If you want to waterproof a cardboard sign and wants to ensure its weatherproof, here are the materials and steps you need to follow:
Materials
- Cardboard sign
- Tape (duct tape, clear packing tape, etc.),
- Waterproof paint (acrylics, latex, enamels) or clear finishes(polyurethane, epoxy resins, etc.)
Instruction
1. Write your sign.
If you don’t have a cardboard sign ready, create your sign.
You can use any type of material such as markers, paint, pen, etc.
You can even design the cardboard depending on your taste.
2. Coat with waterproof paint or finishes.
Depending on what’s available, you can use either waterproof paint or clear finishes to repel water from your cardboard sign.
Just make sure that the coat you’ll use says that it’s exterior-grade.
Let it dry.
3. Tape the edges.
Coating the cardboard isn’t enough to make it waterproof.
Even if you’ve painted the edges successfully, water can still go through the corrugated parts where the paintbrush couldn’t reach and eventually destroy the sign.
That’s why you need to cover it using waterproof tape such as duct tape.
If you don’t want to ruin the sign, you can go for a strong clear tape instead.
How To Waterproof A Paper Sign
There are several ways you can waterproof a paper sign.
Here’s how:
Use Wax
You can easily seal paper using leftover candles at home.
However, you need to check what kind of wax the candle is using before you coat your paper.
Some colored candles can tint your paper.
If you don’t want any color on it, stay away from colored candles.

If the candles available are made from paraffin, use them in a well-ventilated place as they can be poisonous if ingested.
The best wax you can use is beeswax.
Once you have the wax, lay your paper on a sturdy, flat surface.
Make sure it’s dry and free from dust and grime so that you won’t stain the paper.
Then, rub the wax on your sign and make sure that everything is covered.
Also, be careful not to rub too hard, or you might rip the paper.
Use Waterproof Paper
Several types of paper have water-repellent properties.
If you don’t have the sign yet and would need it to be in a waterproof state, it’s best to create it on this kind of paper rather than using regular paper and waterproofing it after.
Use Lamination
Another way to waterproof paper is by using lamination.
It’s essentially putting your print between two layers of plastic film and using heat and pressure to bond all layers into one sheet.
However, you’ll need a lamination machine to do this.
Conclusion
These are the ways to waterproof your outdoor signs.
Waterproofing cardboard is the easiest to do and requires fewer materials among the three methods.
But if you’re feeling handy, using wood would be a great DIY project for you.
