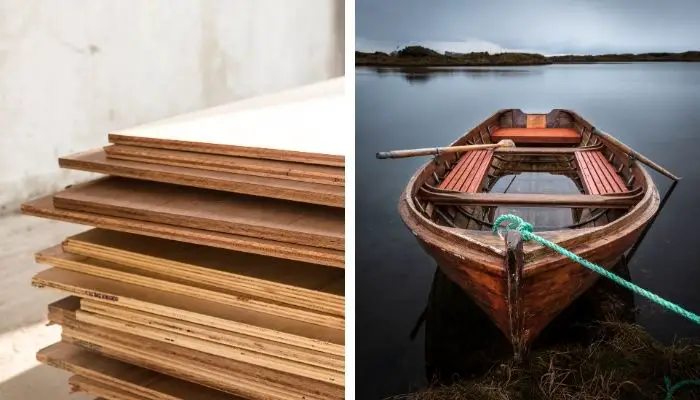
Marine plywood is widely used in constructing boats and ships because it’s resistant to moisture.
Besides being an affordable and durable material, plywood doesn’t show any signs of wear, so it’s the number one choice for several indoor and outdoor applications.
You can increase the waterproof properties of marine plywood using a sealant and the right paint to keep off the water and make wood more resistant to moisture and UV damage.
Keep on reading to learn more about how to waterproof plywood for a boat.
Plywood is one of the most common materials that you can use for indoor and outdoor applications.
However, it’s the primary material used to build boats due to its durability when it’s exposed to moisture.
Unlike other types of wood, marine plywood doesn’t deteriorate when submerged in water.
People use marine plywood to build boats because it’s durable, lightweight, and resistant to the elements.
Whether you’re building a boat, boat hull, dock, or pier, this will be the adequate material to use.
It already features waterproof glue to stick the plies together, and in most cases, it doesn’t contain any gaps that affect its quality. Plywood is resistant to decay when it’s properly treated.
However, marine plywood shouldn’t be bought directly from the store and used in moist conditions.

You can indeed build a boat using store-bought marine plywood, but it might deteriorate and get damaged when it gets submerged in water. Moreover, UV damage will ruin the wood in the long run.
Despite being rated for outdoor and marine applications, you still need to make a few adjustments to ensure that your plywood is more resistant to water.
There are several methods that you can use to make plywood more waterproof, but applying a waterproof paint or sealant is one of the easiest ones.
To add waterproof paint, you need to prepare the plywood first. Here are the steps that you can follow to make sure that your plywood is adequately prepared for building a boat.
1. Apply a Wood Filler
In some cases, plywood doesn’t have a smooth surface, so a wood filler is needed.
This material fills any holes in the plywood to allow for effortless and successful application of the sealant.
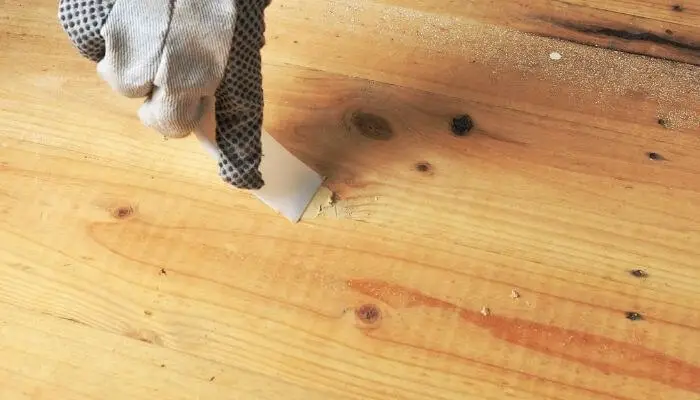
Some types of wood fillers can be directly applied to plywood, or you can mix the filler with a hardener for better quality.
Use a putty knife to apply the filler and smooth it out. If you’re buying high-quality plywood, this step won’t be necessary.
2. Sand Down the Plywood
Sanding plywood should be the first step before applying any sealant or paint as it removes the outer layer for even application.
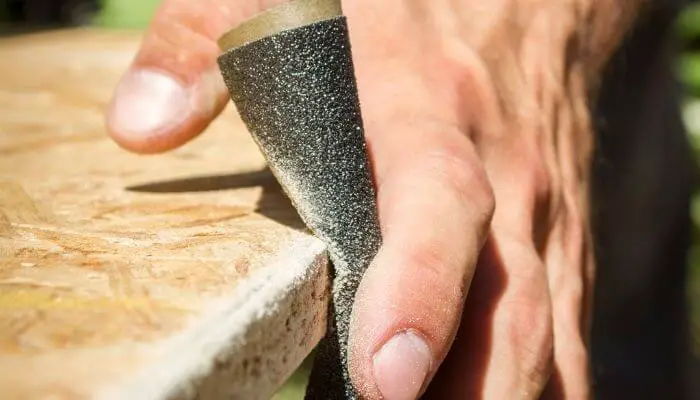
Make sure that you sand both sides of the wood, and don’t ignore the edges to guarantee that it’s ready for applying the sealant.
80-grit sandpaper will work well to remove any roughness off the surface of the wood. Don’t stop until you’ve removed all the dust and debris from the plywood.
3. Clean the Surface of the Plywood
Removing the dust and debris will guarantee that your plywood will stay in excellent condition.
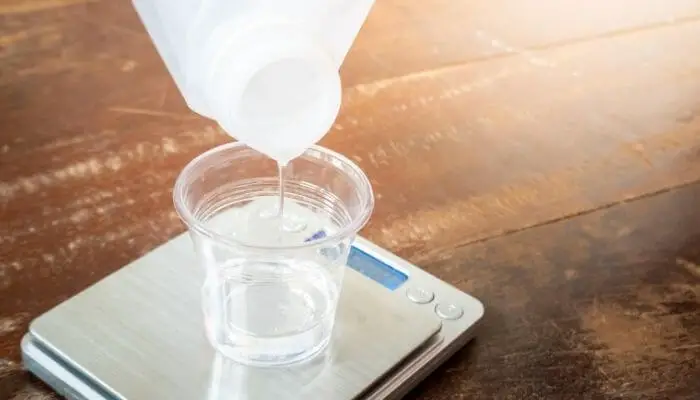
Use a towel that is fully saturated with acetone to rub the plywood.
It’s crucial to let the acetone dry for a few hours before applying a layer of waterproof sealant to make sure that it won’t affect its properties.
You can also use water to clean plywood perfectly. Use a piece of cloth to clean the wood and remove any remaining debris.
You should let the wood dry completely before applying a sealant.
4. Apply a Wood Sealant
A wood sealant guarantees that moisture won’t affect the plywood. A good wood sealant seals the edges of the plywood and prepares it for the other steps that follow.
This material protects plywood from mold and moisture decay, guaranteeing that it will stay in excellent condition.

It also makes plywood more UV-resistant, so it will work for boats and other marine applications.
A waterproof wood sealant should be left to dry for at least 24 hours before applying any material on top. It tints the color of the wood but increases its durability.
Wood sealant is also commonly used to waterproof plywood subfloors.
5. Use Clear Epoxy to Coat the Plywood
Clear epoxy is one of the best materials to use with plywood because it penetrates deep into the wood.
It enhances its waterproof properties and allows the other layers of waterproof paint to slide effortlessly.
A foam brush or roller should be saturated with epoxy, and then you should spread it properly in one even layer.
Spread the epoxy on all sides of the plywood while paying special attention to the edges to seal the plywood properly.
Epoxy tends to dry fast, and you shouldn’t apply another layer until the first one has completely dried.
Compared to other types of sealants, transparent epoxy is more durable and requires less maintenance.
Other types of sealants need to be reapplied every few years to guarantee the same level of protection.
However, with epoxy, you can only apply a new layer if the plywood scratches or shows signs of damage.
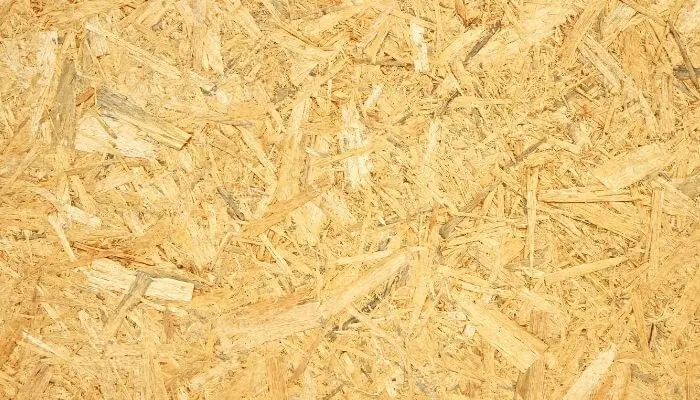
As a rule, you can apply as many layers of epoxy as the number of layers of the plywood. Between every two layers, you should lightly sand the surface to facilitate the application.
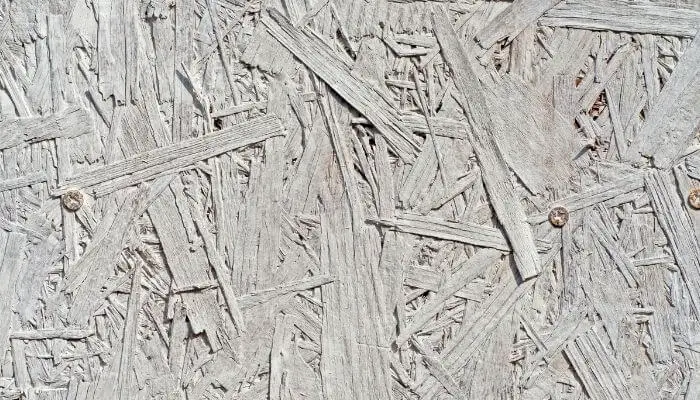
Normal plywood usually features 4 or 5 layers, while marine plywood has 10 layers or more for more durability.
Although this is a time-consuming task, it’s the most important one as it changes the properties of the plywood to make it waterproof and able to handle submersion.
6. Apply a Spray-On or Paint
Although for other applications you might get away with applying a single coat, you need to apply outdoor paint on both sides if you’re using plywood on the boat.
Make sure that you saturate the brush and apply the sealant on both sides as well as the edges.
Once the first layer has dried, you can apply another layer of waterproof paint.
Do the same with a waterproof spray. Apply a generous amount of the spray, and you can even spread it with a brush.
Let it dry, then apply another layer of waterproof spray.
This spray on paint allows the water to slide off the surface of the wood. It doesn’t penetrate through the wood, so it won’t deteriorate or rot.
You need to choose high-quality outdoor paint to resist the elements.
Tips for Waterproofing Your Plywood for Boat
Waterproofing plywood guarantees that it stays in good condition until you’re done building your boat.
There are several tips that allow you to complete this process successfully.
- Make sure that you buy excellent-quality marine plywood to carry this process successfully. Regular plywood won’t work because it’s not that durable.
- Choose the right spot to start working on your project. Make sure that the plywood is covered while you’re working on your project because wet wood won’t work.
- Before moving onto the next step, make sure that the plywood is 100% dry. Moisture can affect the application of the sealant and paint.
- Latex paint is one of the best types of outdoor paint. It improves the aesthetics of your boat, so you can customize it according to your taste.
Also Read:
How To Waterproof Plywood
Is OSB Waterproof?
Wrap Up
Marine-grade plywood is durable and lightweight, so it’s suitable for building a boat or any other object that gets submerged in water.
You need to clean and prepare the plywood before applying a sealant.
A layer of clear epoxy will help seal the plywood, and you can follow with a layer of water-resistant outdoor latex paint.
